CONTACT
 925 512 424
 FAQS
FAQS



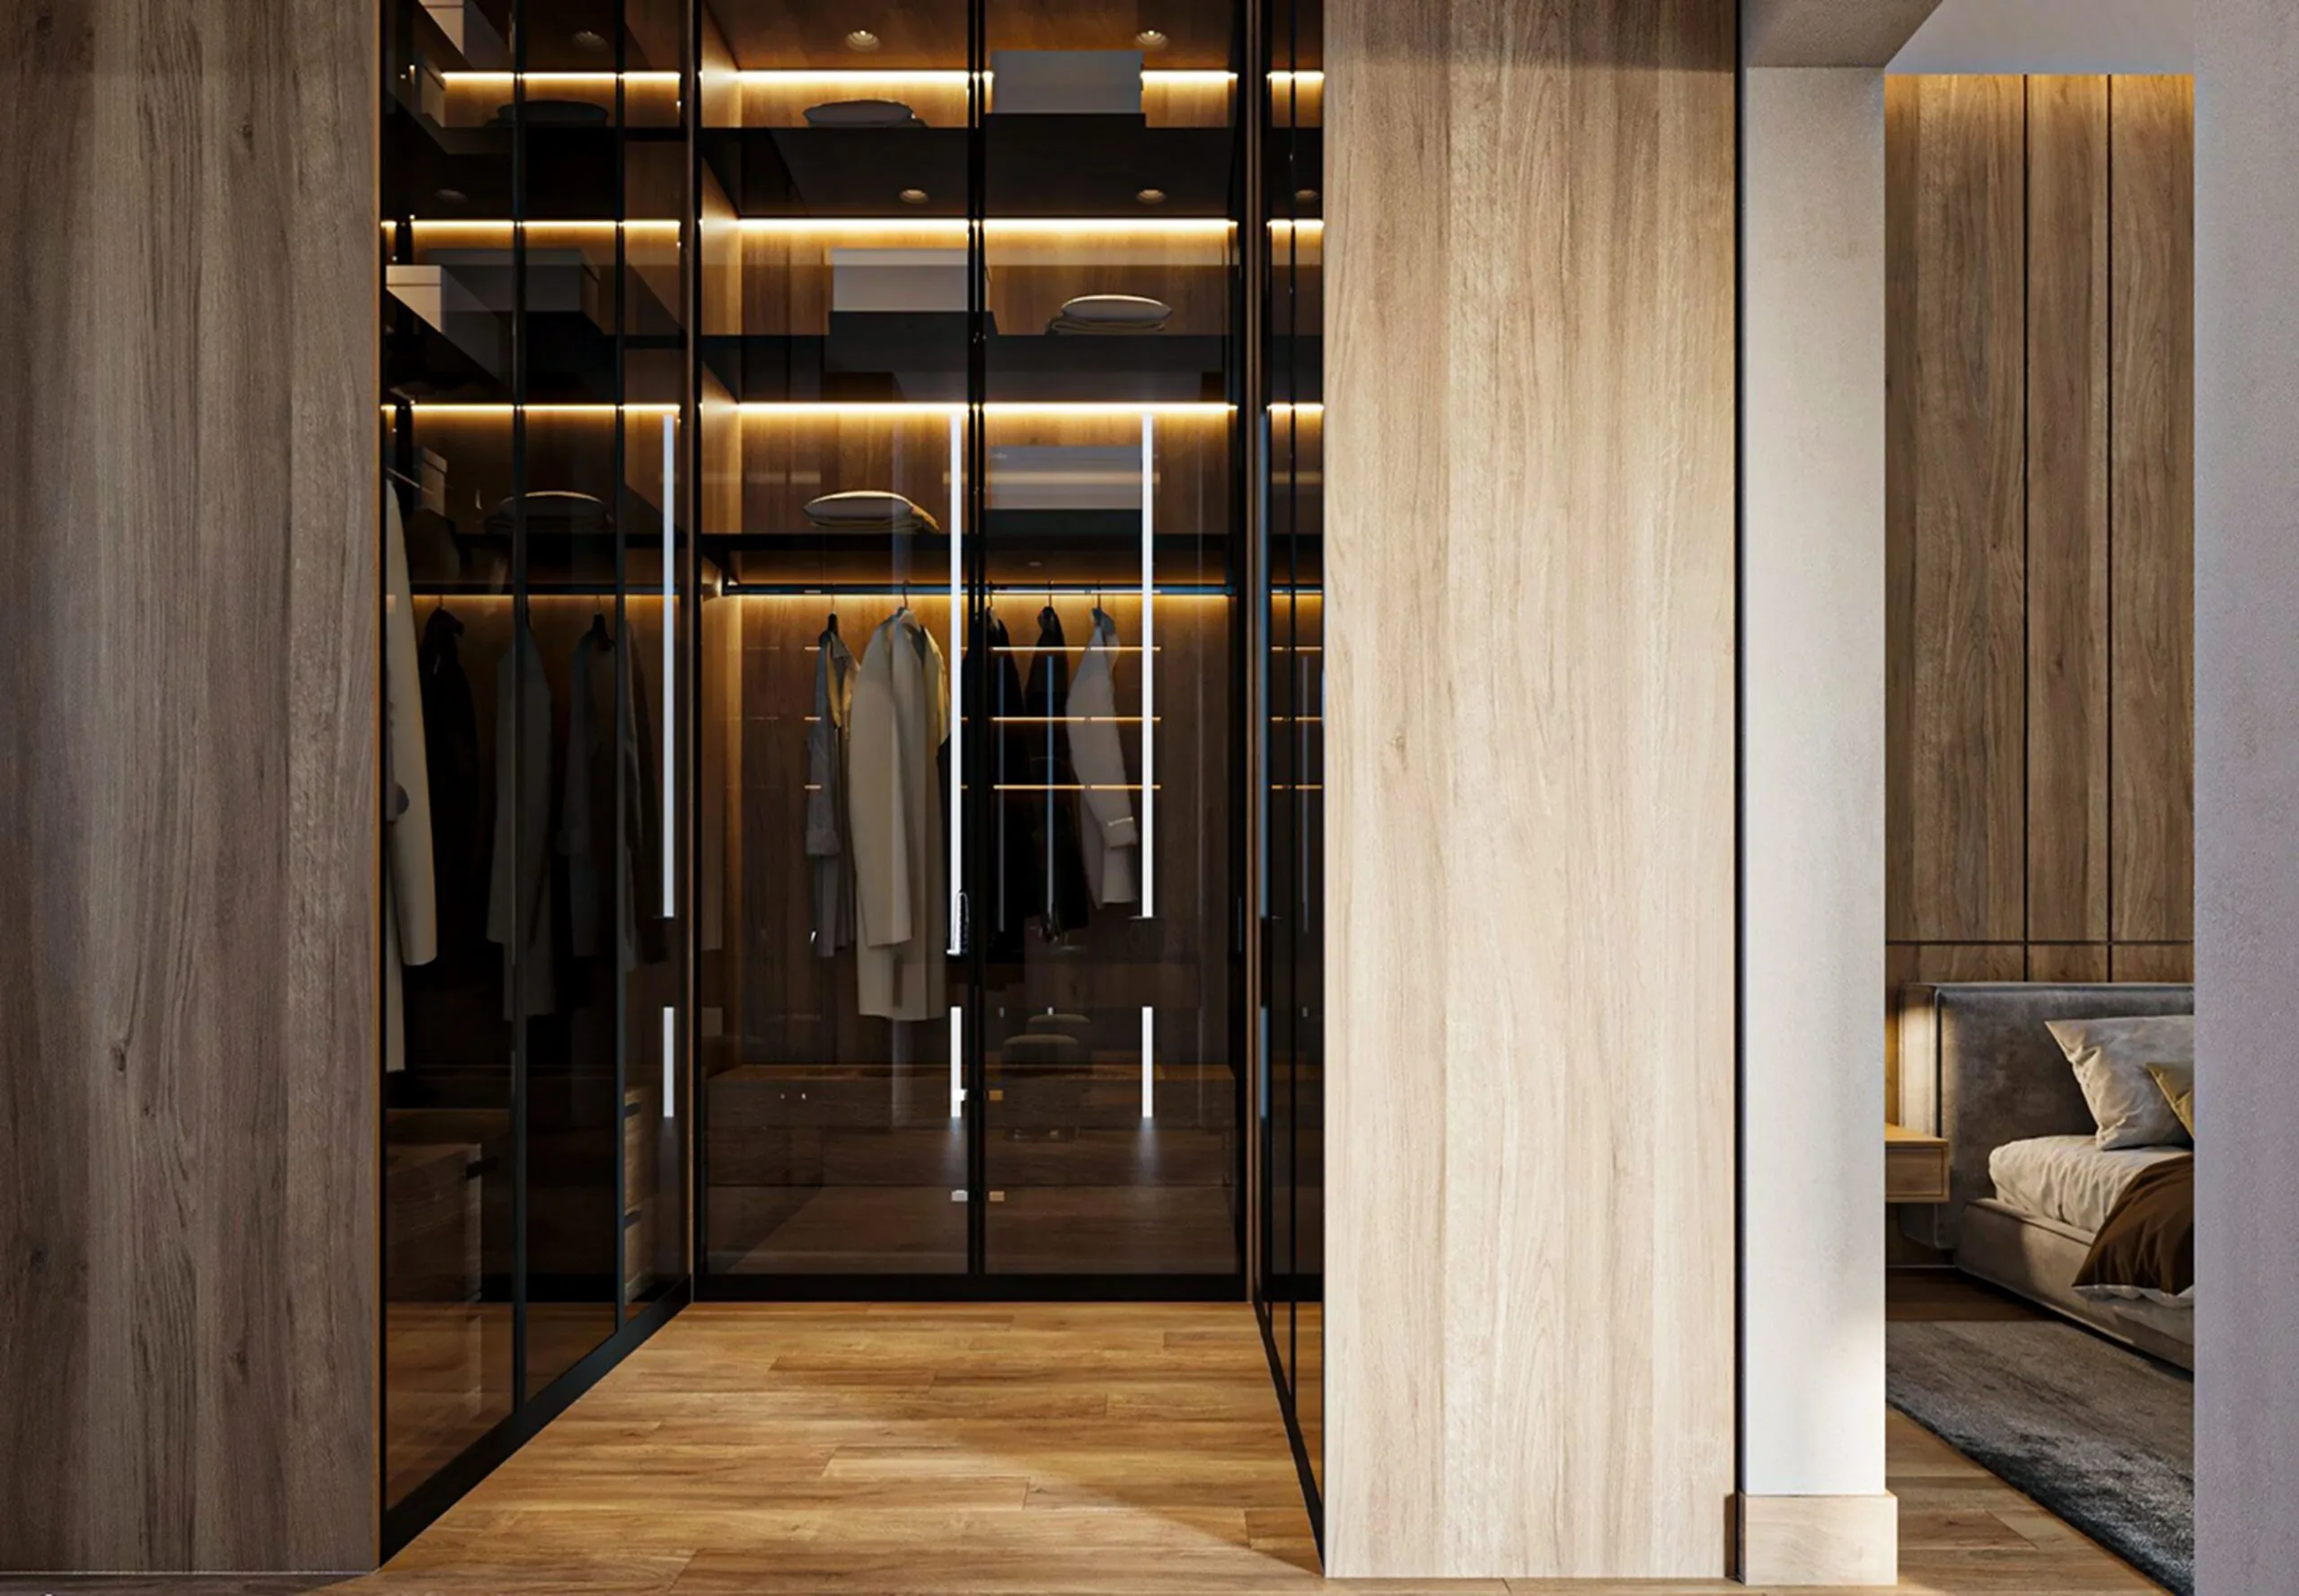
When we talk about reforms, decoration and lighting of spaces we should not only limit ourselves to the rooms of the house, we can also give a new look to the furniture or home textiles. A good example is to include design handles and new doors in the kitchen furniture or cabinets at home.
Another of the most curious but functional decorating trends is the installation of LED lights in your closet. An excellent way to improve the visibility and aesthetics of your space.
Whether for walk-in closets, kitchen cabinets or any other storage area, LED lights add a modern and functional touch. In this article we explain how to put LED light in a closet step by step, so you can enjoy an efficient and energy efficient lighting.
Why choose LED light for your closet?
LED lighting has gained popularity in homes for many reasons. First, their energy efficiency is unsurpassed: they consume much less than traditional bulbs, which means savings on electricity bills. In addition, LED lights last much longer, making them a smart long-term investment, especially for in-cabinet lighting.
Knowing how to put light in a closet not only improves visibility, but also adds a modern and sophisticated touch to the space.
Types of LED light for cabinets
There are several options when it comes to choosing the type of light for inside the cabinet that best suits its shape and size.
LED strip lights
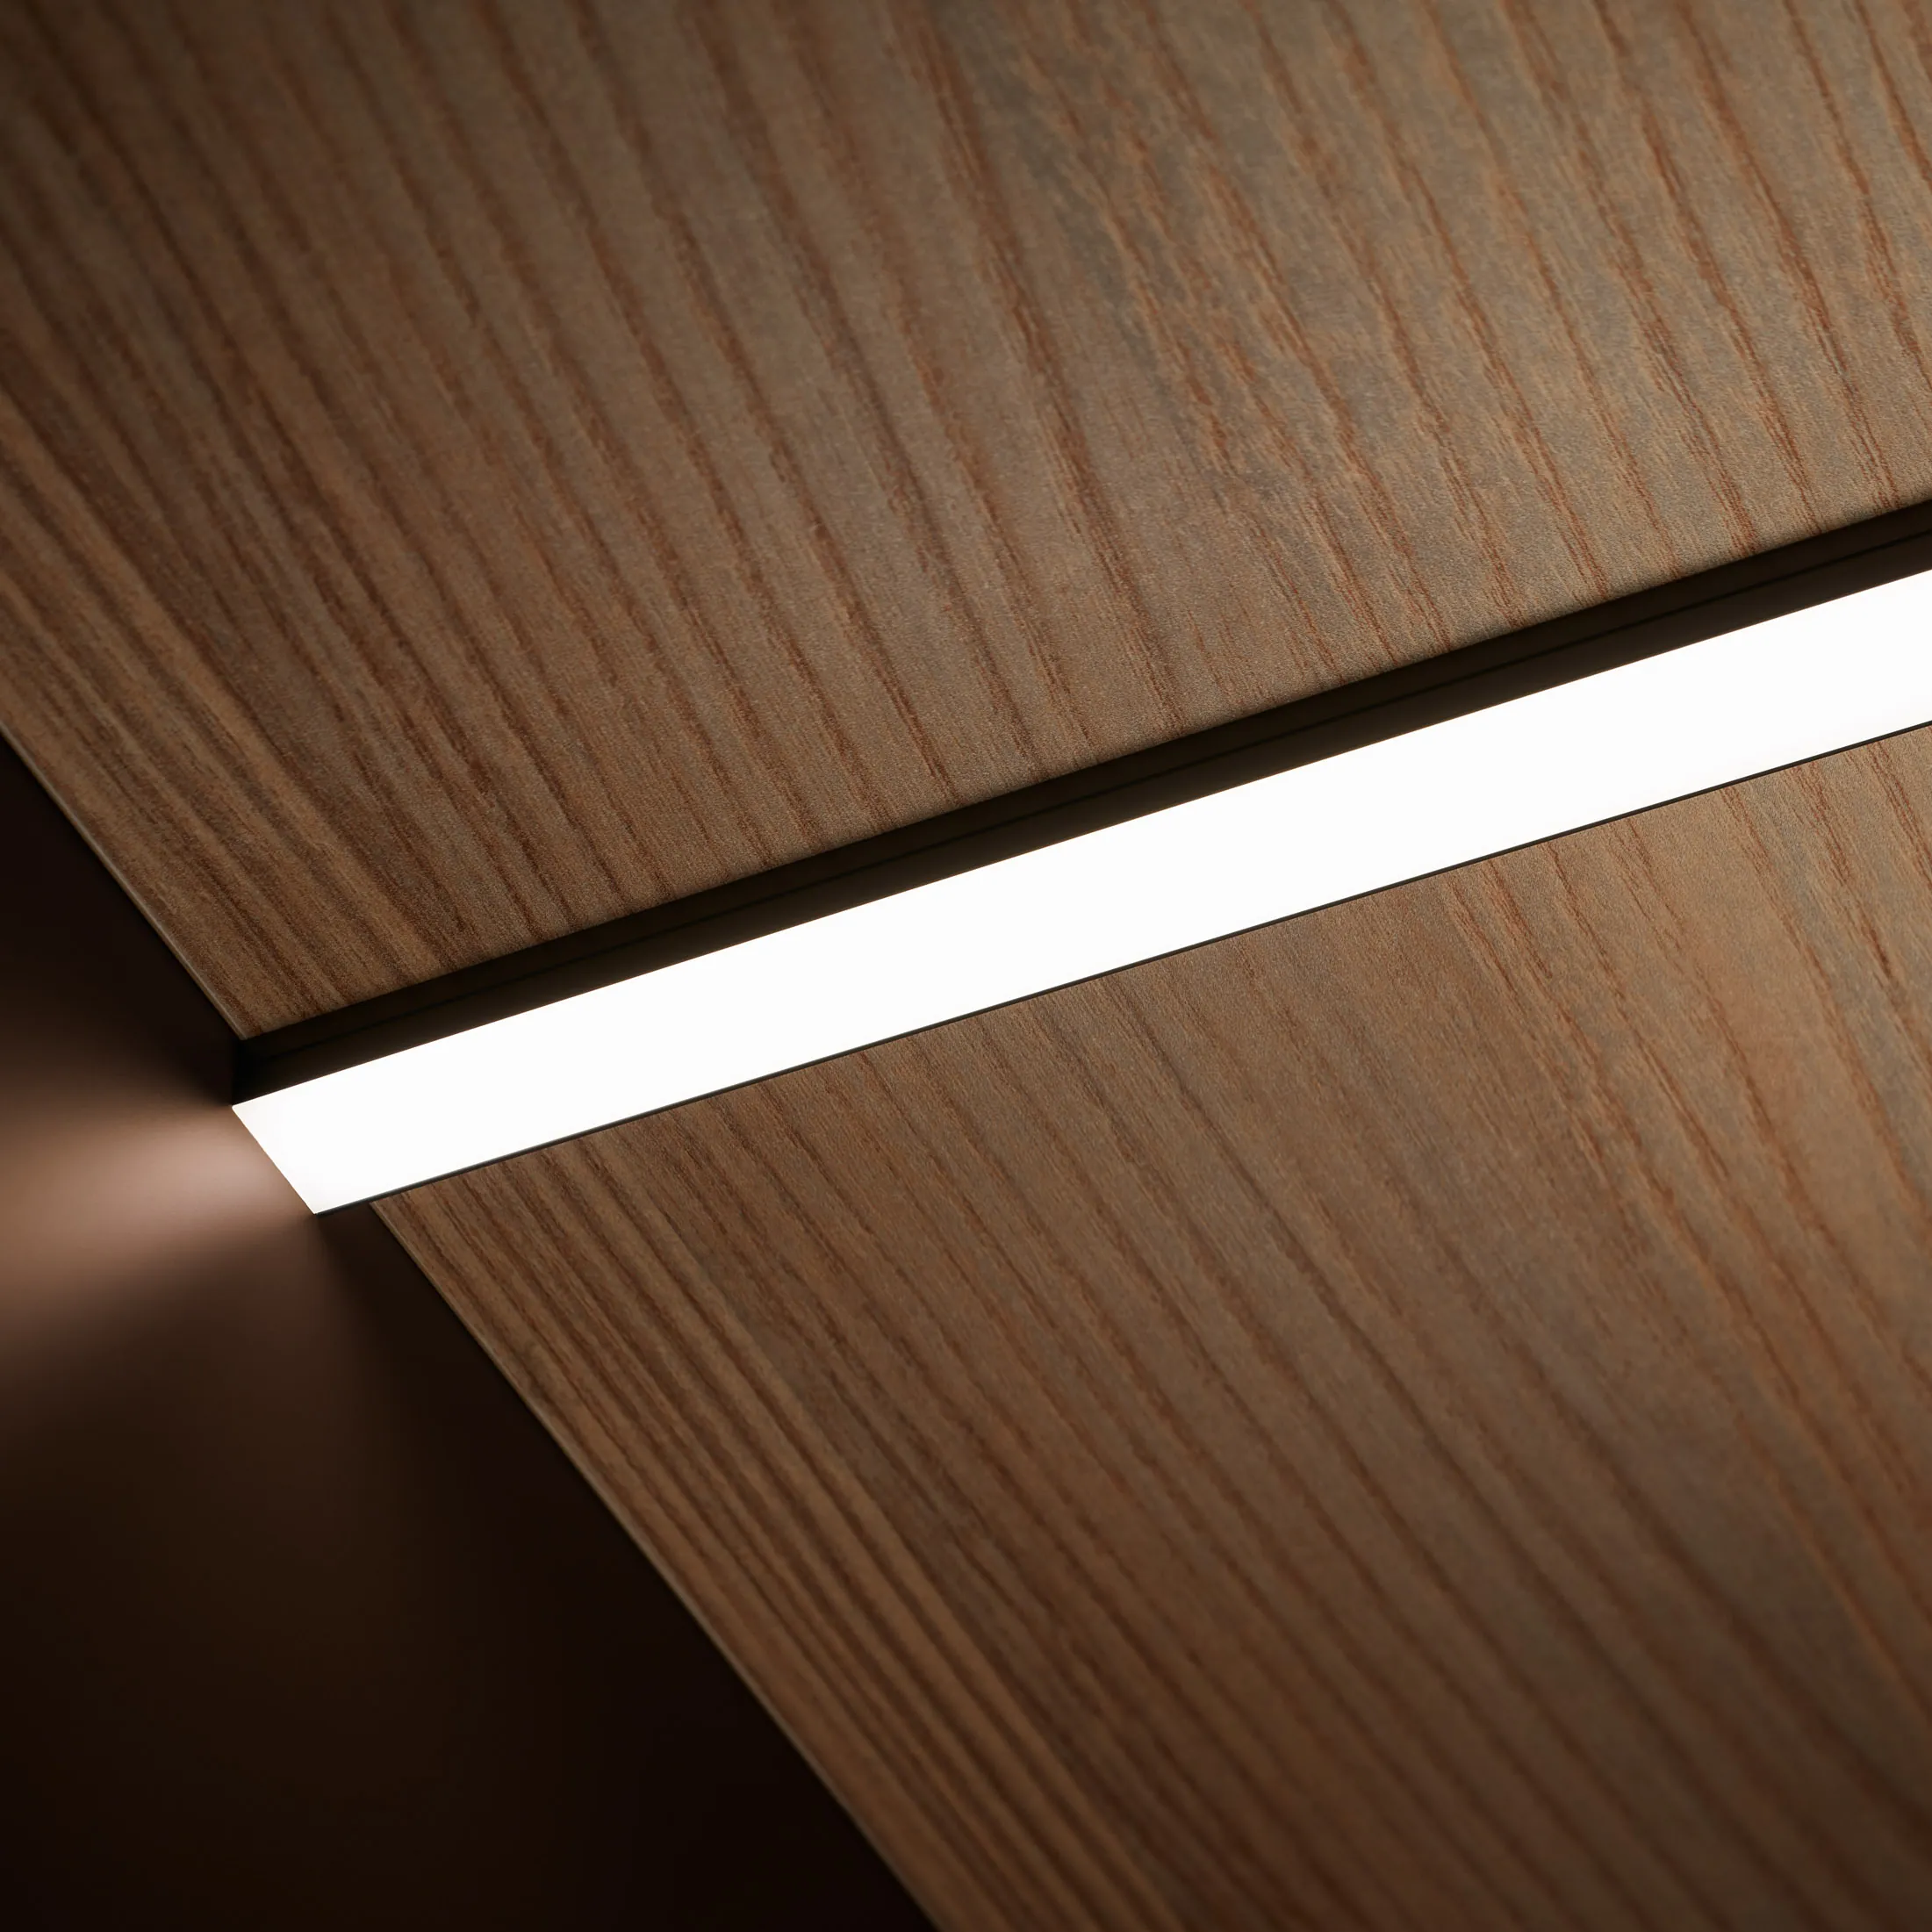
LED strip profiles are one of the most versatile options for putting light inside a cabinet. They adhere easily to any surface and can be cut to size to fit the length of your closet. In addition, they can be placed on both the top and sides of the cabinet for even illumination.
Recessed LED lights
If you prefer more discreet lighting, recessed LED lights are an excellent choice for in-cabinet lighting. They are installed directly into the ceiling or walls of the closet, providing soft light with no wires in sight.
LED lights with motion sensor
Devices such as the motion sensor for light are perfect for cabinets that are frequently opened and closed. They automatically turn on when they detect motion and turn off after a period of no activity. This in-cabinet light not only enhances the convenience of having light inside the cabinet, but also saves energy.
LED lights with remote control
If you prefer to have total control over the intensity and color of the light, LED lights with remote control are an excellent choice. You can adjust the lighting to suit your needs, creating different moods in your closet depending on the time of day.
Smart Connector by SC Herrajes
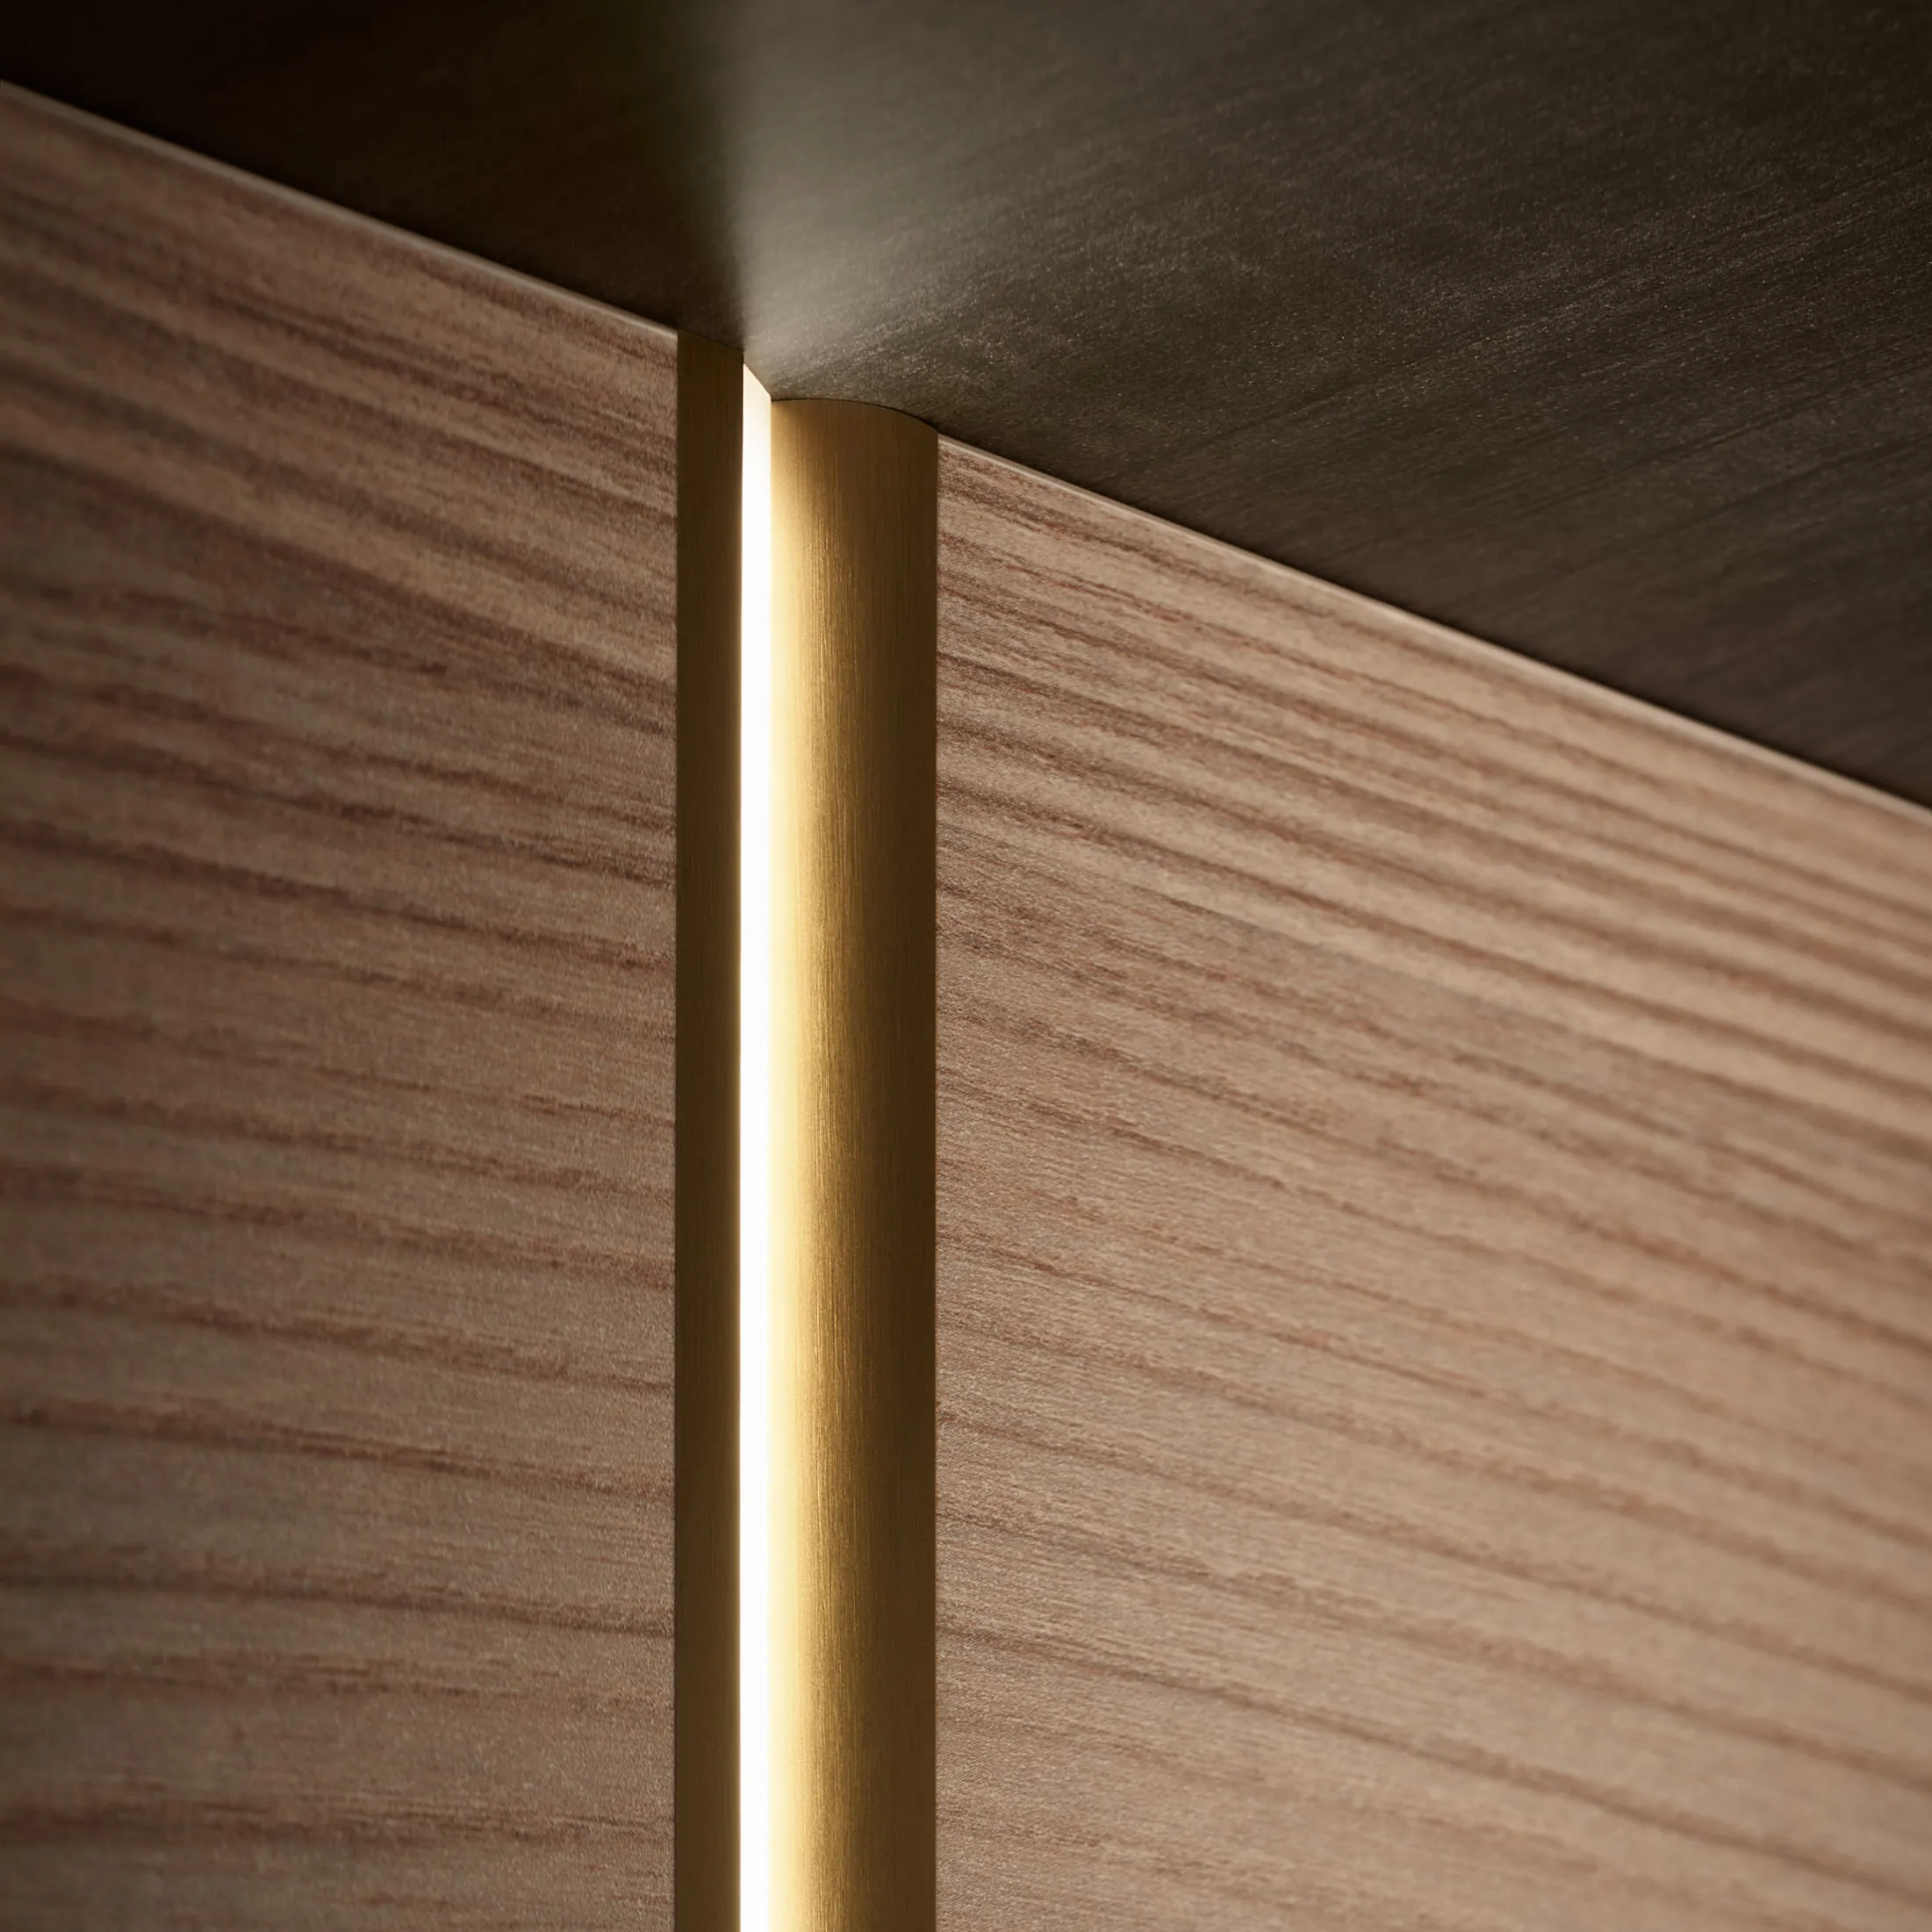
At SC Herrajes we continue to focus on intelligent solutions that simplify installation without sacrificing design. Our Smart Connector technology proves it: it allows cutting the LED strip at any point and connecting it easily by means of a quick connector, without the need of soldering.
A good example is our L217 LED profile, available in gray and bronze finishes, which incorporates this technology to offer you a fast, clean and safe installation. It is especially designed for cabinets, as it projects light inwards, improving visibility without dazzling.
In addition, the power supply is part of this modular connection system, which makes assembly and integration into any project even easier.

LED lighting in the cabinet bar
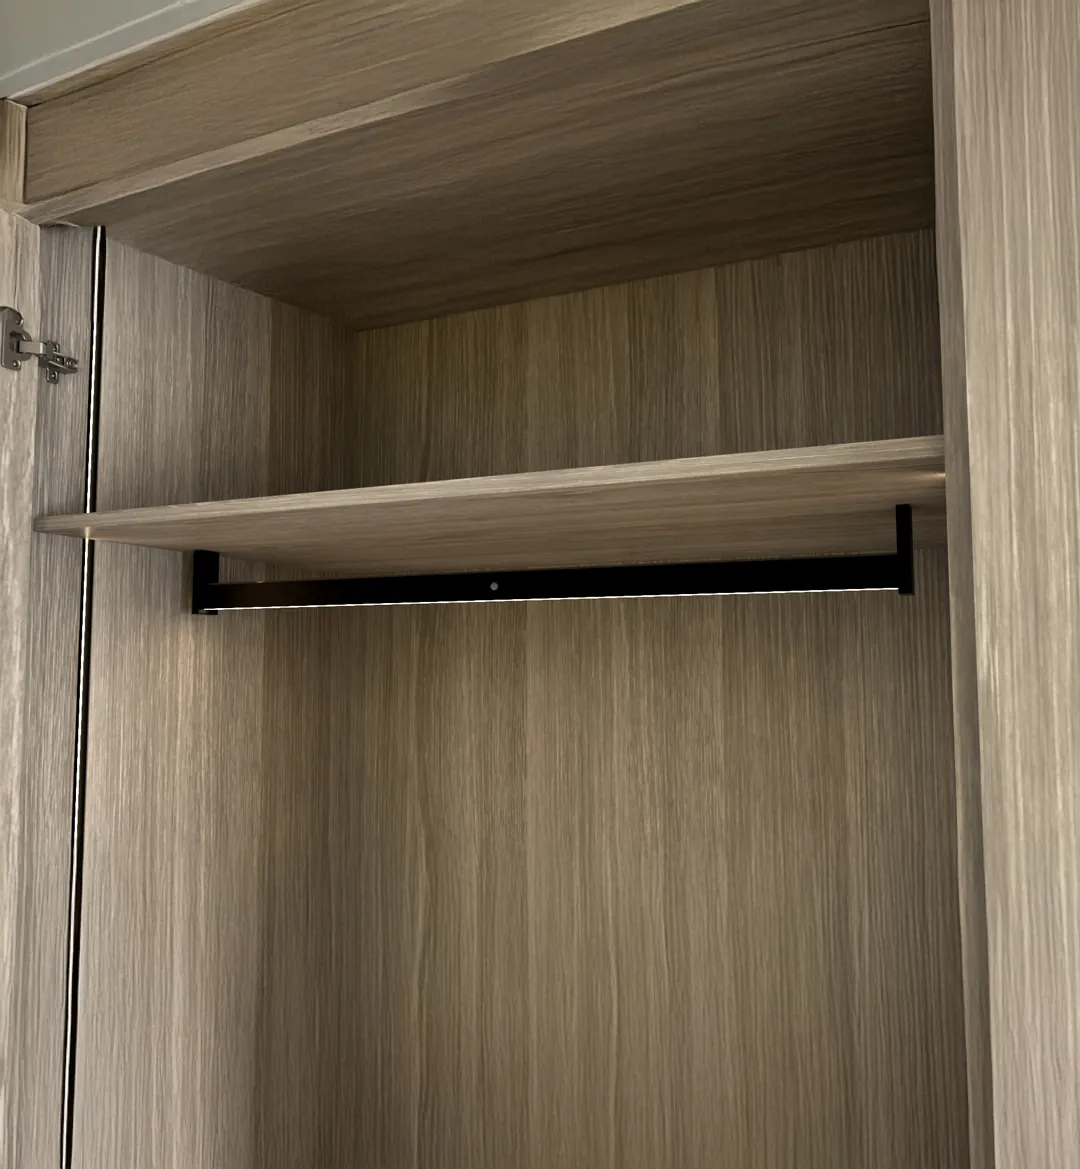
In our commitment to make the interior lighting more functional and aesthetic, in SC Herrajes we have incorporated a cabinet rod with integrated LED, ideal to take a step further in the comfort of everyday life.
This new product not only fulfills its structural function, but also illuminates the garments directly from the bar itself, providing uniform and discreet light right where it is needed most.
A perfect solution for those looking for design and practicality in a single gesture.
Materials and tools needed to install LED light in a cabinet
Before you begin, make sure you have all the materials and tools necessary for a safe and successful installation. Here are the basic items you will need:
- LED strips and power supply.
- Suitable connectors and cables.
- Screwdrivers and tools to fix the lights.
- (Optional) Motion sensor or remote control, depending on the type of light.
- Profile with cover and caps (to improve the aesthetics of the light)
- IP protection if required.
Preparation prior to installation of LED lights in an enclosure
The key to how to successfully put LED lighting in a cabinet is preparation.
Measurement and planning of the installation
Before placing LED lights, it is important to measure the available space and plan the lighting layout. Think about the areas that need more light and how to distribute the strips or luminaires so that the light is evenly distributed.
Selection of the type of installation: fixed or with sensor
Depending on how often you use your cabinet, you can choose a fixed installation (perfect for cabinets that are in constant use) or a motion sensor (ideal for less frequently used cabinets or cabinets with doors that open automatically).
Avoiding common mistakes when measuring and cutting LED strips
If you are going to use LED strips, be sure to measure correctly before cutting. The strips can be cut to length, but it is important to do so at the indicated points so as not to damage them. If you are unsure, consult the manufacturer’s instructions to avoid mistakes.
However, with our smart connector technology, no matter where you cut, the measurement will be accurate at any point without losing any mm of light.
Step by step to install LED lights in a cabinet
Now that you have everything you need, it’s time to get to work. Here’s a step-by-step guide to installing LED lights in your closet.
How to lay LED strips
- Clean well the surface where you are going to install the LED strips to ensure a good adhesion.
- In case of using profiles with integrated LED strip (such as the Smart Connector), cut the profile with the strip already in place before installation.
- If you are going to place profiles on the surface, first place the clips and then fit the profile with the LED strip. This system allows the profile to be replaced in the future without damaging the materials, as it does not use adhesives or glues.
- Connect the wires to the power supply and make sure everything is properly connected before turning on the light.

Installation of recessed and surface mounted lights
In SC Herrajes we have a cut to size service for the installation of recessed lights, so you can customize the measures and even the color of the light and the control format for installation. To proceed with the installation you must:
- Mark the points where you are going to install the recessed lights.
- Drill the corresponding holes and put the lights in place.
- Connect the lights to the power supply and make sure they are securely attached.
Cable connection and power supply
When installing luminaires, they must be connected to the lighting section of the transformer. If we also want to add a sensor, it will be important to consider whether it is a wired or wireless model.
In the case of wired sensors, they will be connected to the corresponding sensor section of the transformer. On the other hand, if the sensor is wireless, it must be connected to an RF junction box or a compatible controller.
Installation check and final testing
Once everything is installed, perform a power-up test to make sure all lights are working properly. If you notice anything unusual, check the connections or the power supply.
Always trust professionals
You have already seen how putting LED light in a cabinet is more than a method to improve visibility, it also improves its aesthetics and functionality. To ensure a quality installation of the light inside the cabinet, it is essential to have the best products, and in this sense, relying on reliable suppliers such as SC Herrajes is key.
We offer you a wide variety of LED lights, handles and other home accessories of the latest generation, such as wifi controllers with innovative models and elegant designs, perfect for any type of closet or dressing room.